Post by jhedir6 on Aug 1, 2017 15:23:41 GMT -5
Hey guys. This is my first WiP here, as I stated in my intro in that section. Even though I've shifted the build from when I started to where it is now I'll post up everything I've done to this date. I know there are many members here that are also members elsewhere and have likely seen this, so apologies for that.
So to start....
Last Christmas I got one of the "new" Revell Snapper kits as a present. I didn't do anything with it till around March when I decided to give it a shot after seeing what some other guys where doing with theirs. Even though I'm not a NASCAR guy, I do like race cars, and I really enjoy making mods to a model to make it look more accurate to the real deal. So, starting with this:
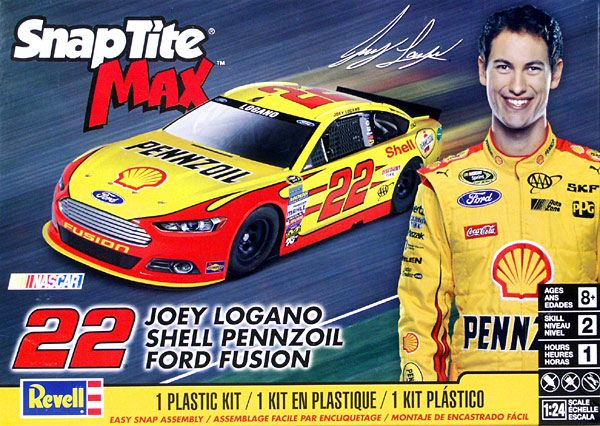
But I didn't like the livery. Too mundane for my tastes. After Googling some images of cars from last year I decided on this livery. Again, not cause I'm a fan, just cause I like the looks of the colours and graphics.
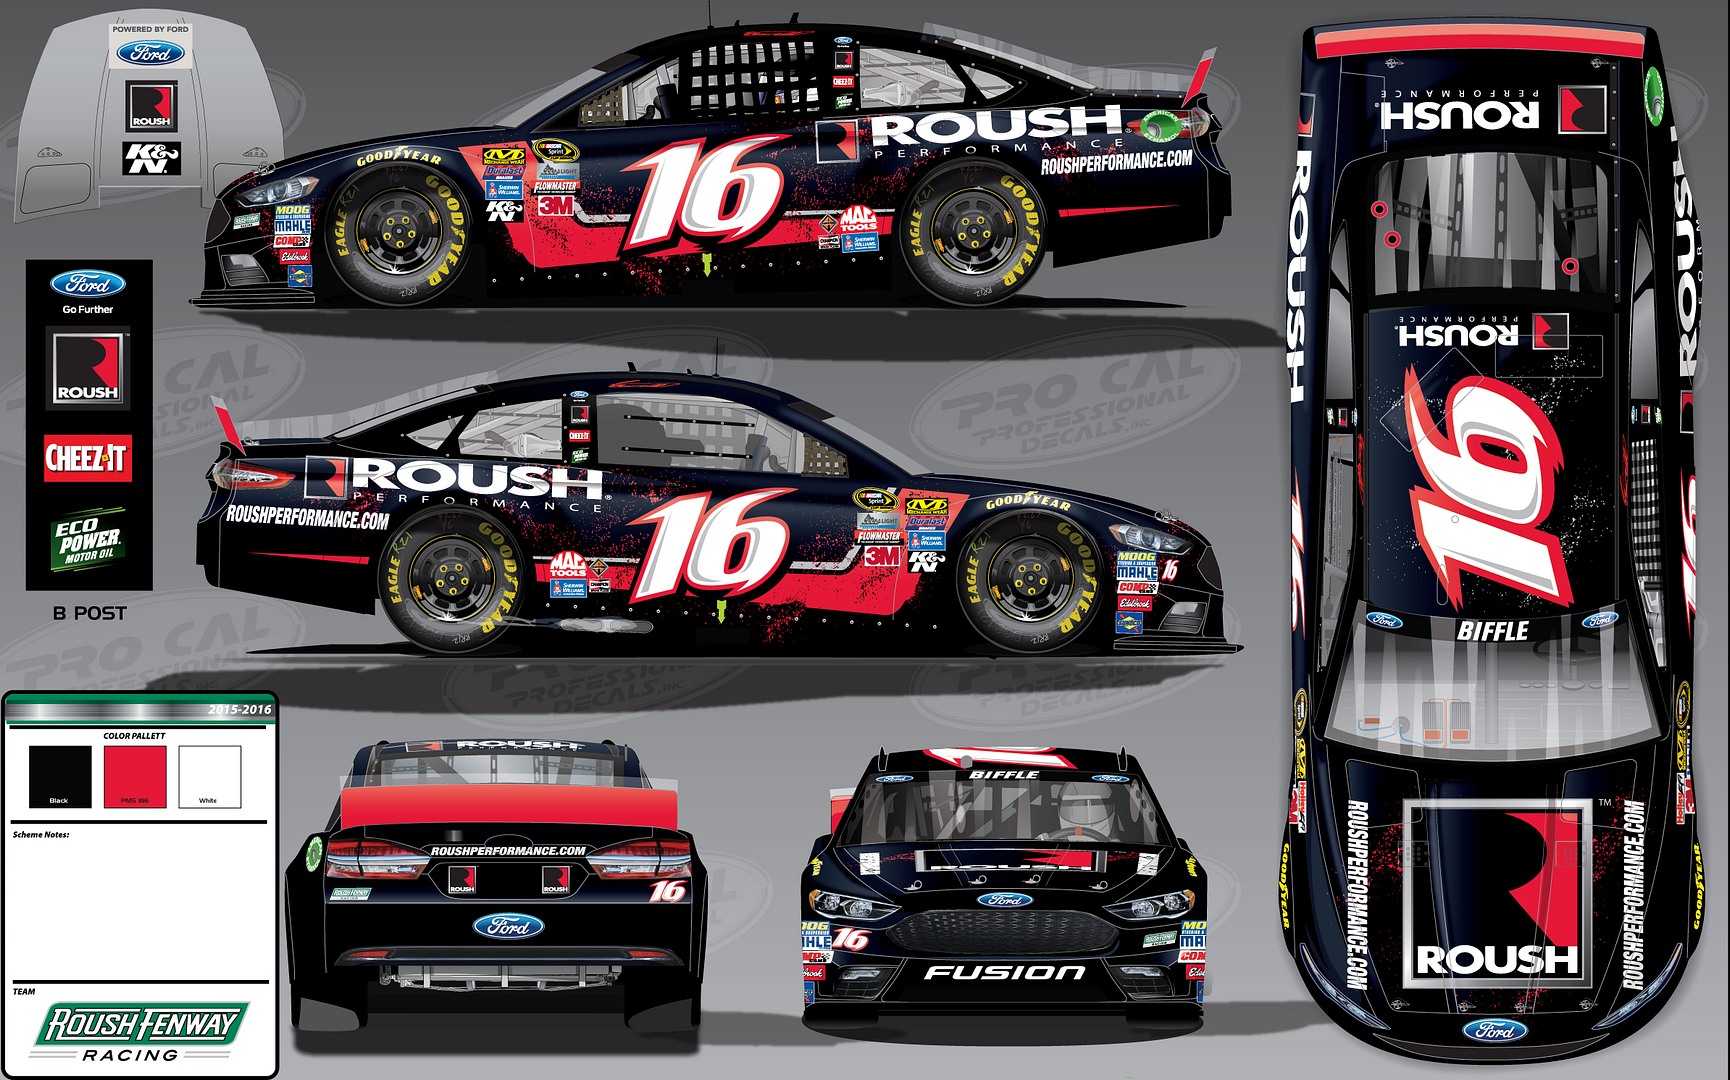
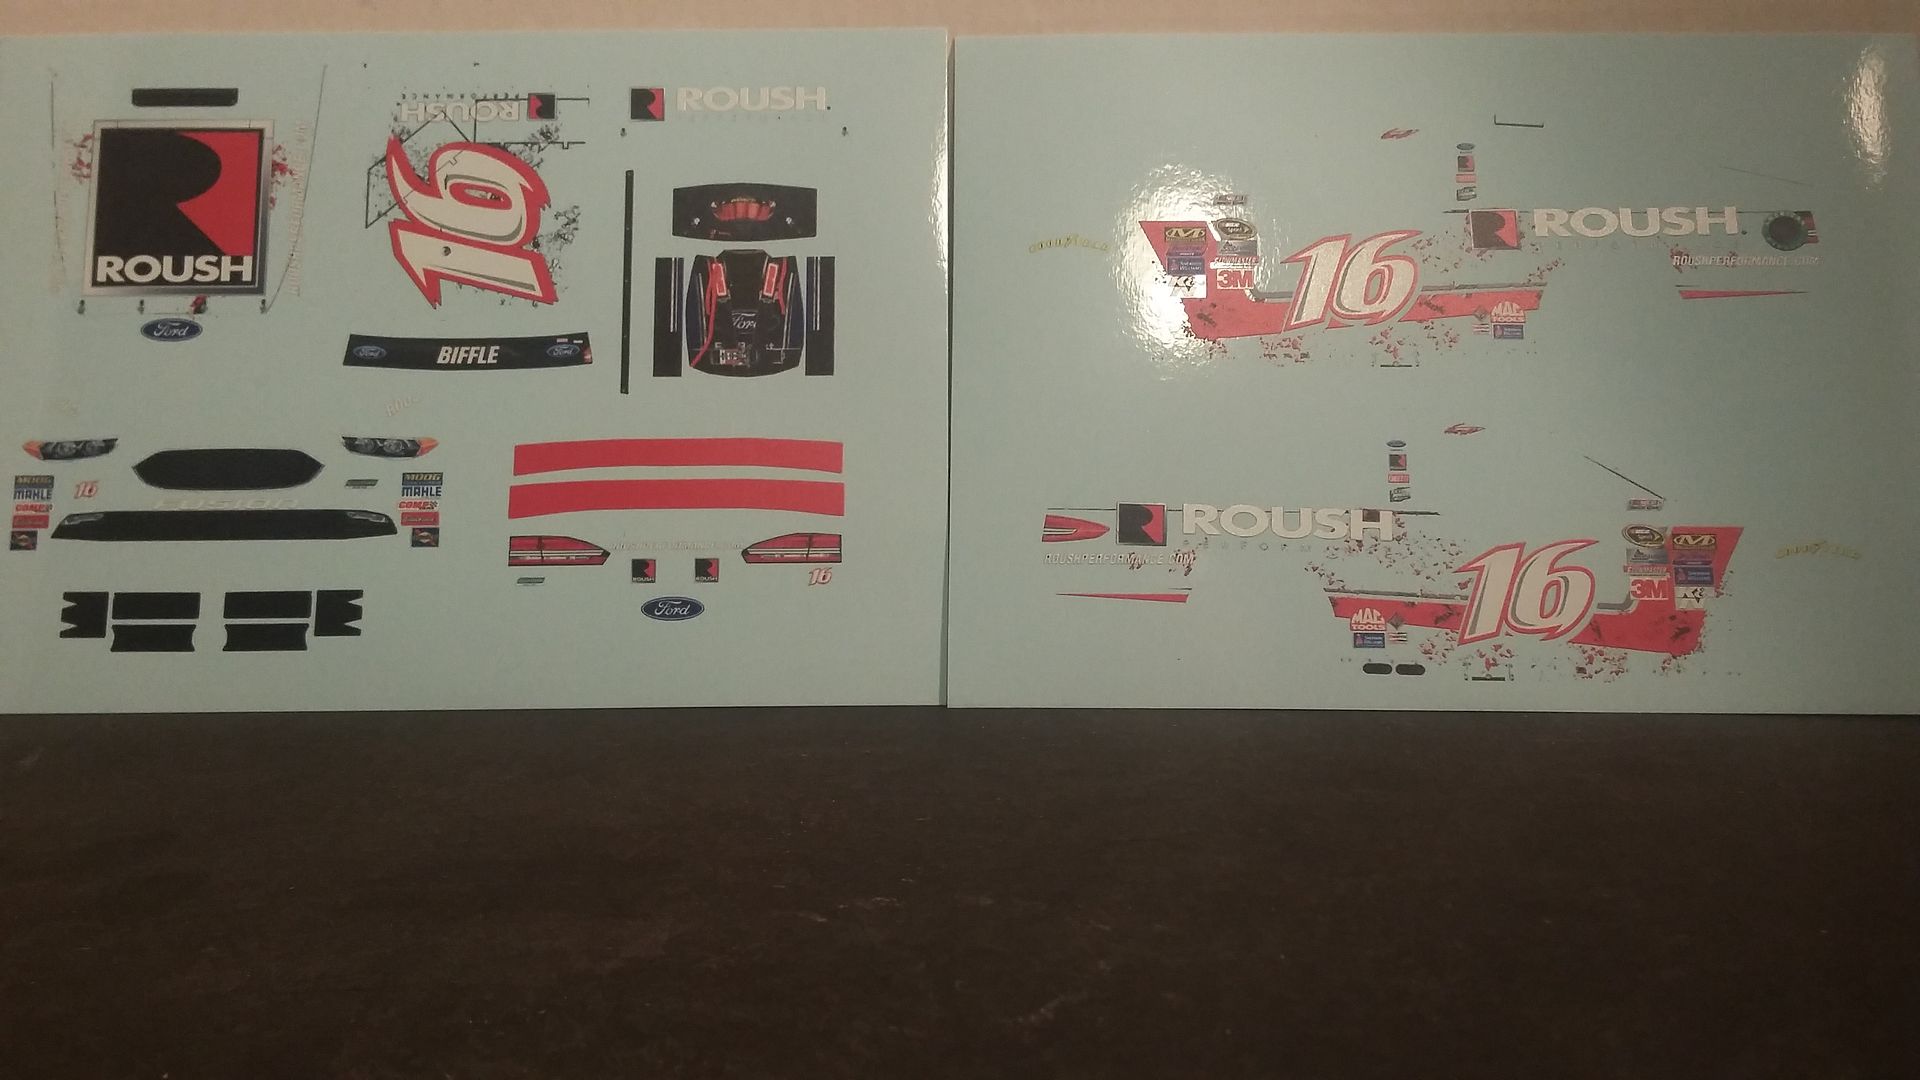
Now that I found a livery I liked. I had to find the decals for it. I was fortunate enough to find out that Bruce from Patto's Place did in fact have them, so I placed my order. Knowing I was going to pain the car black I got him to do a background delete on his art work and was left with these.
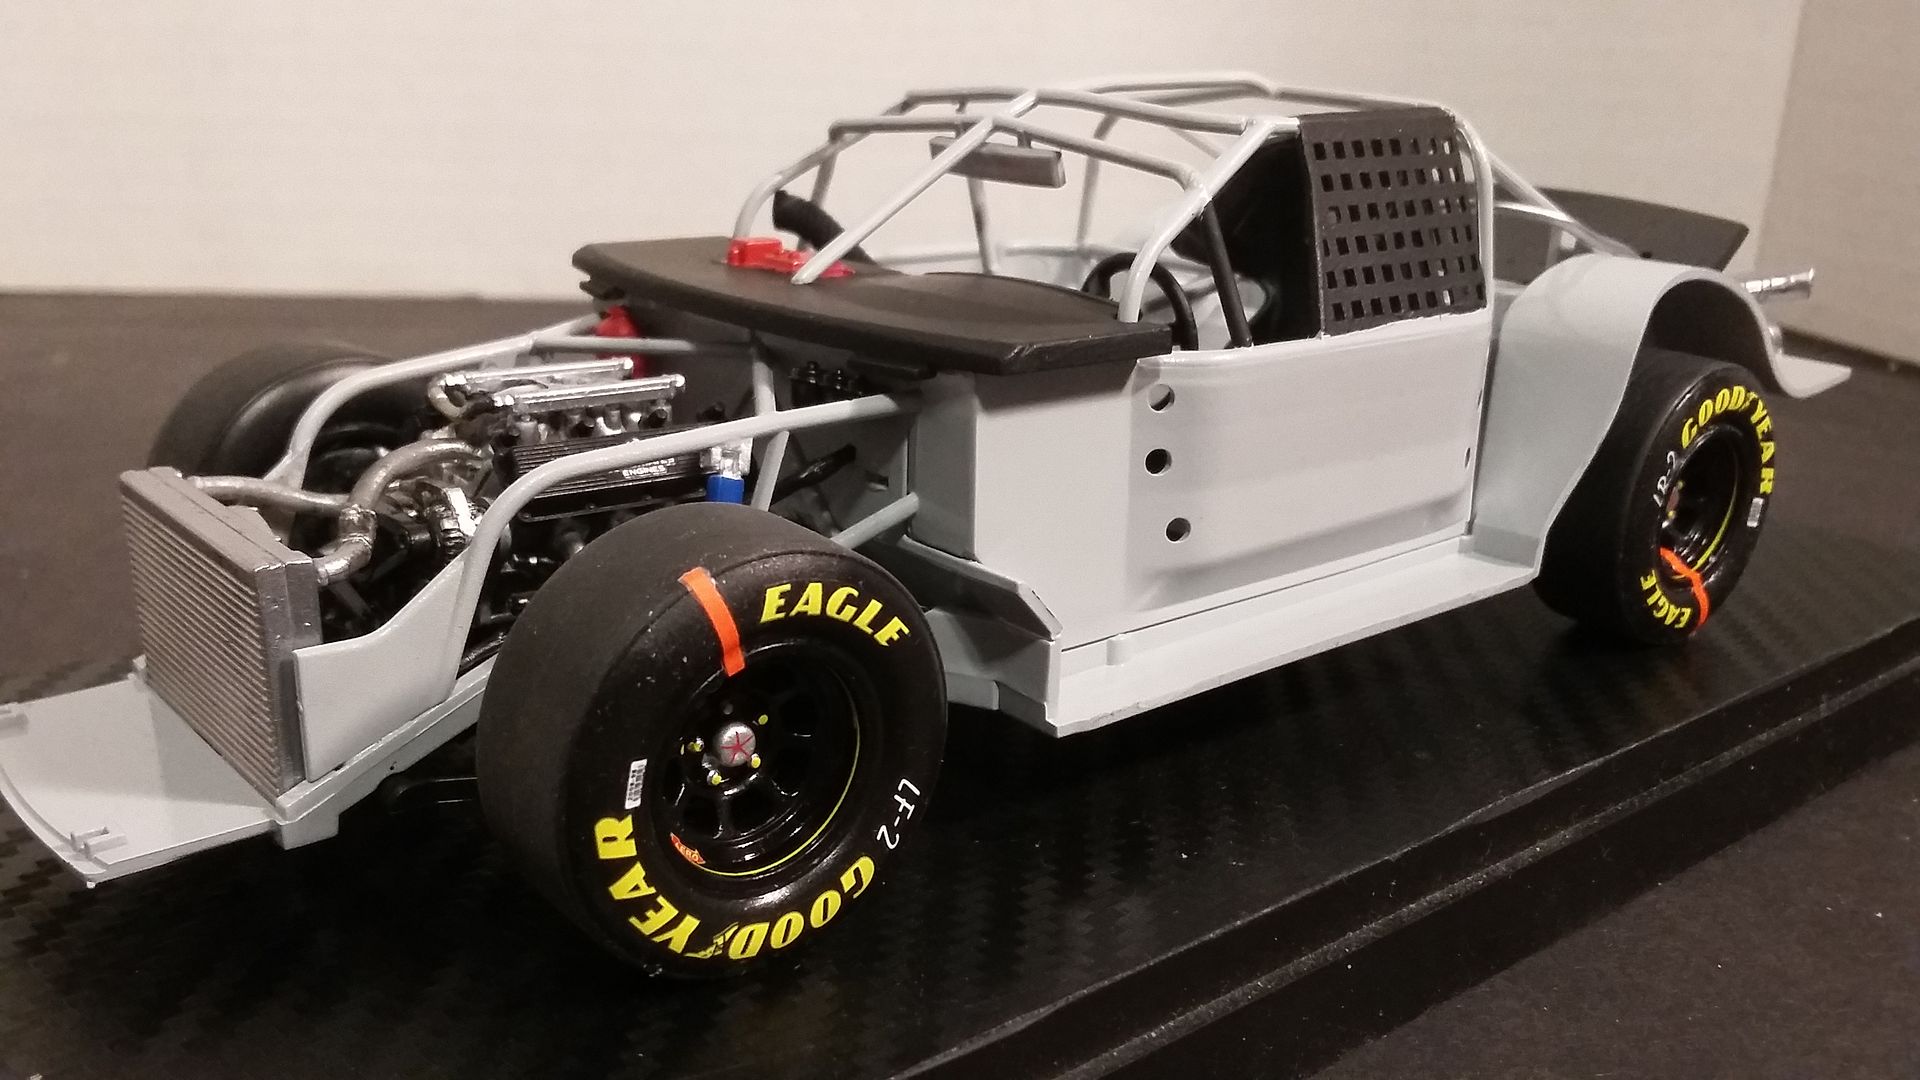
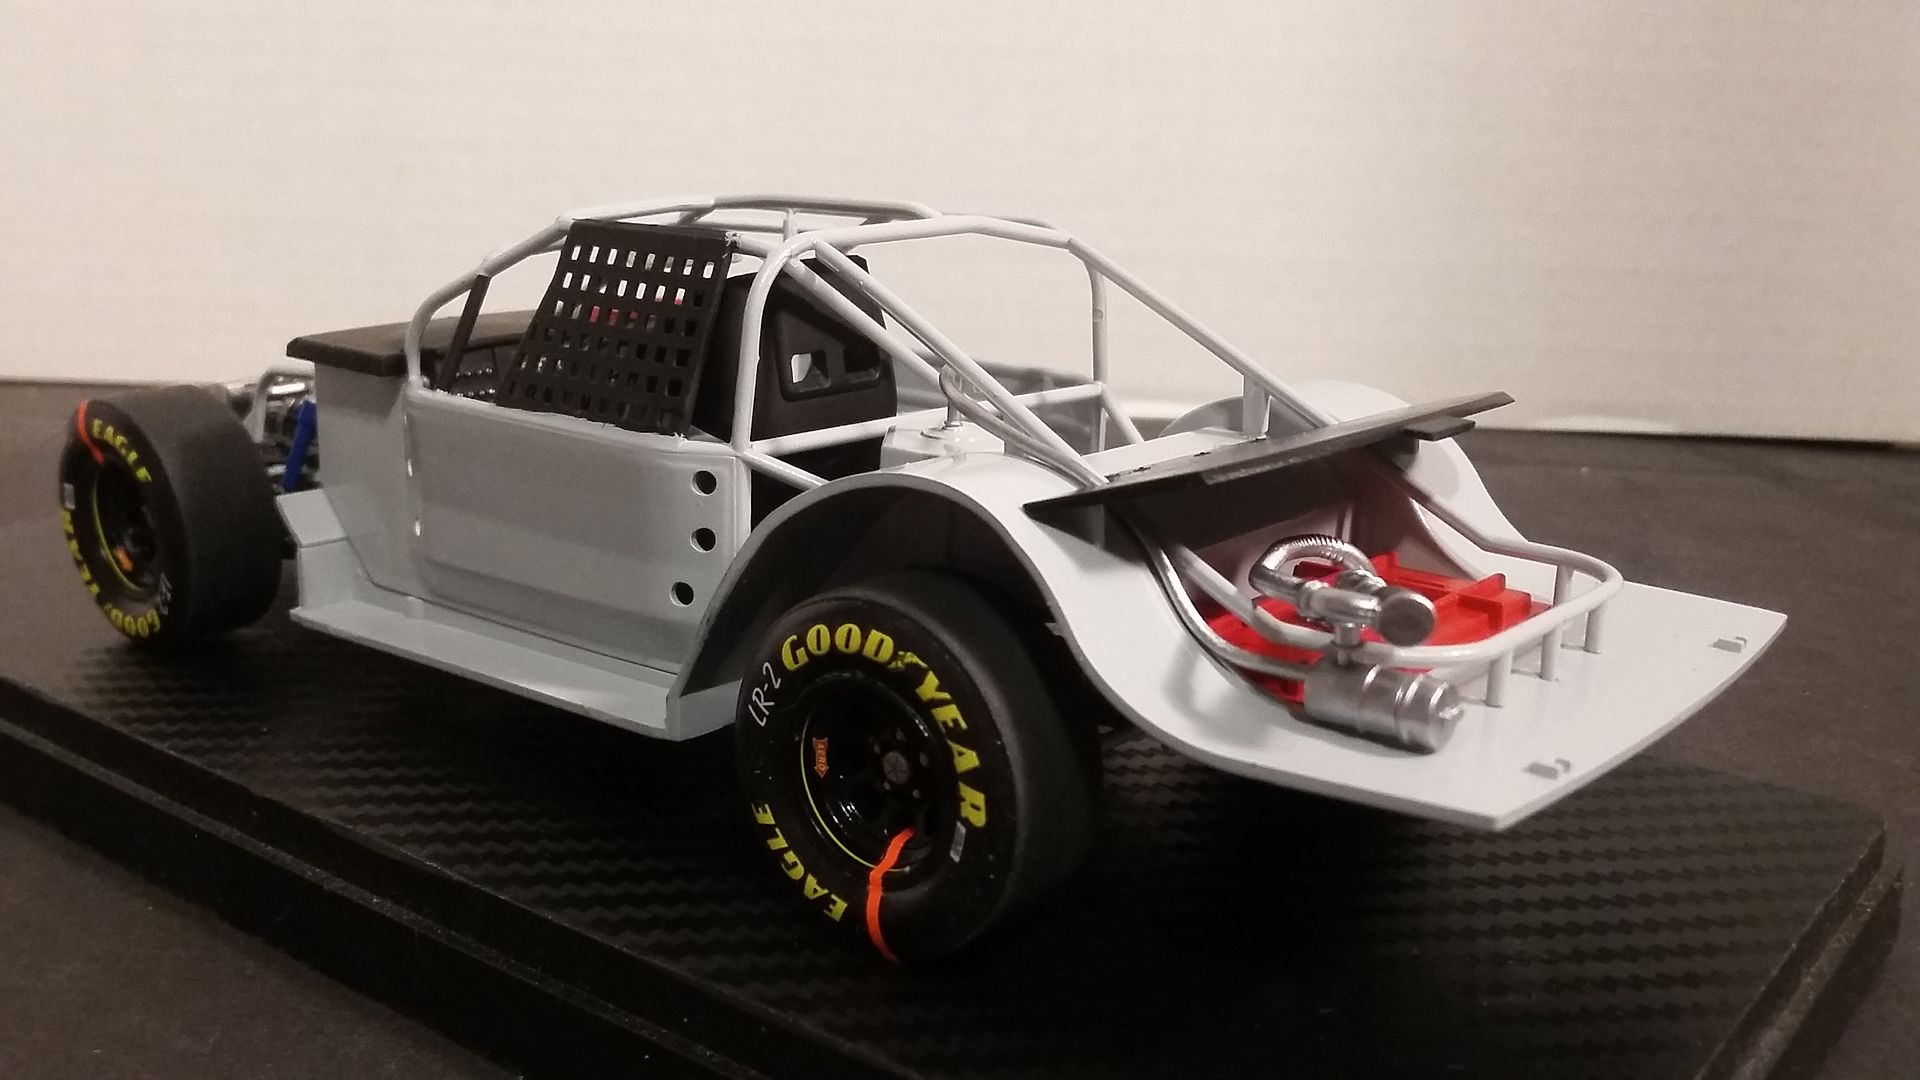
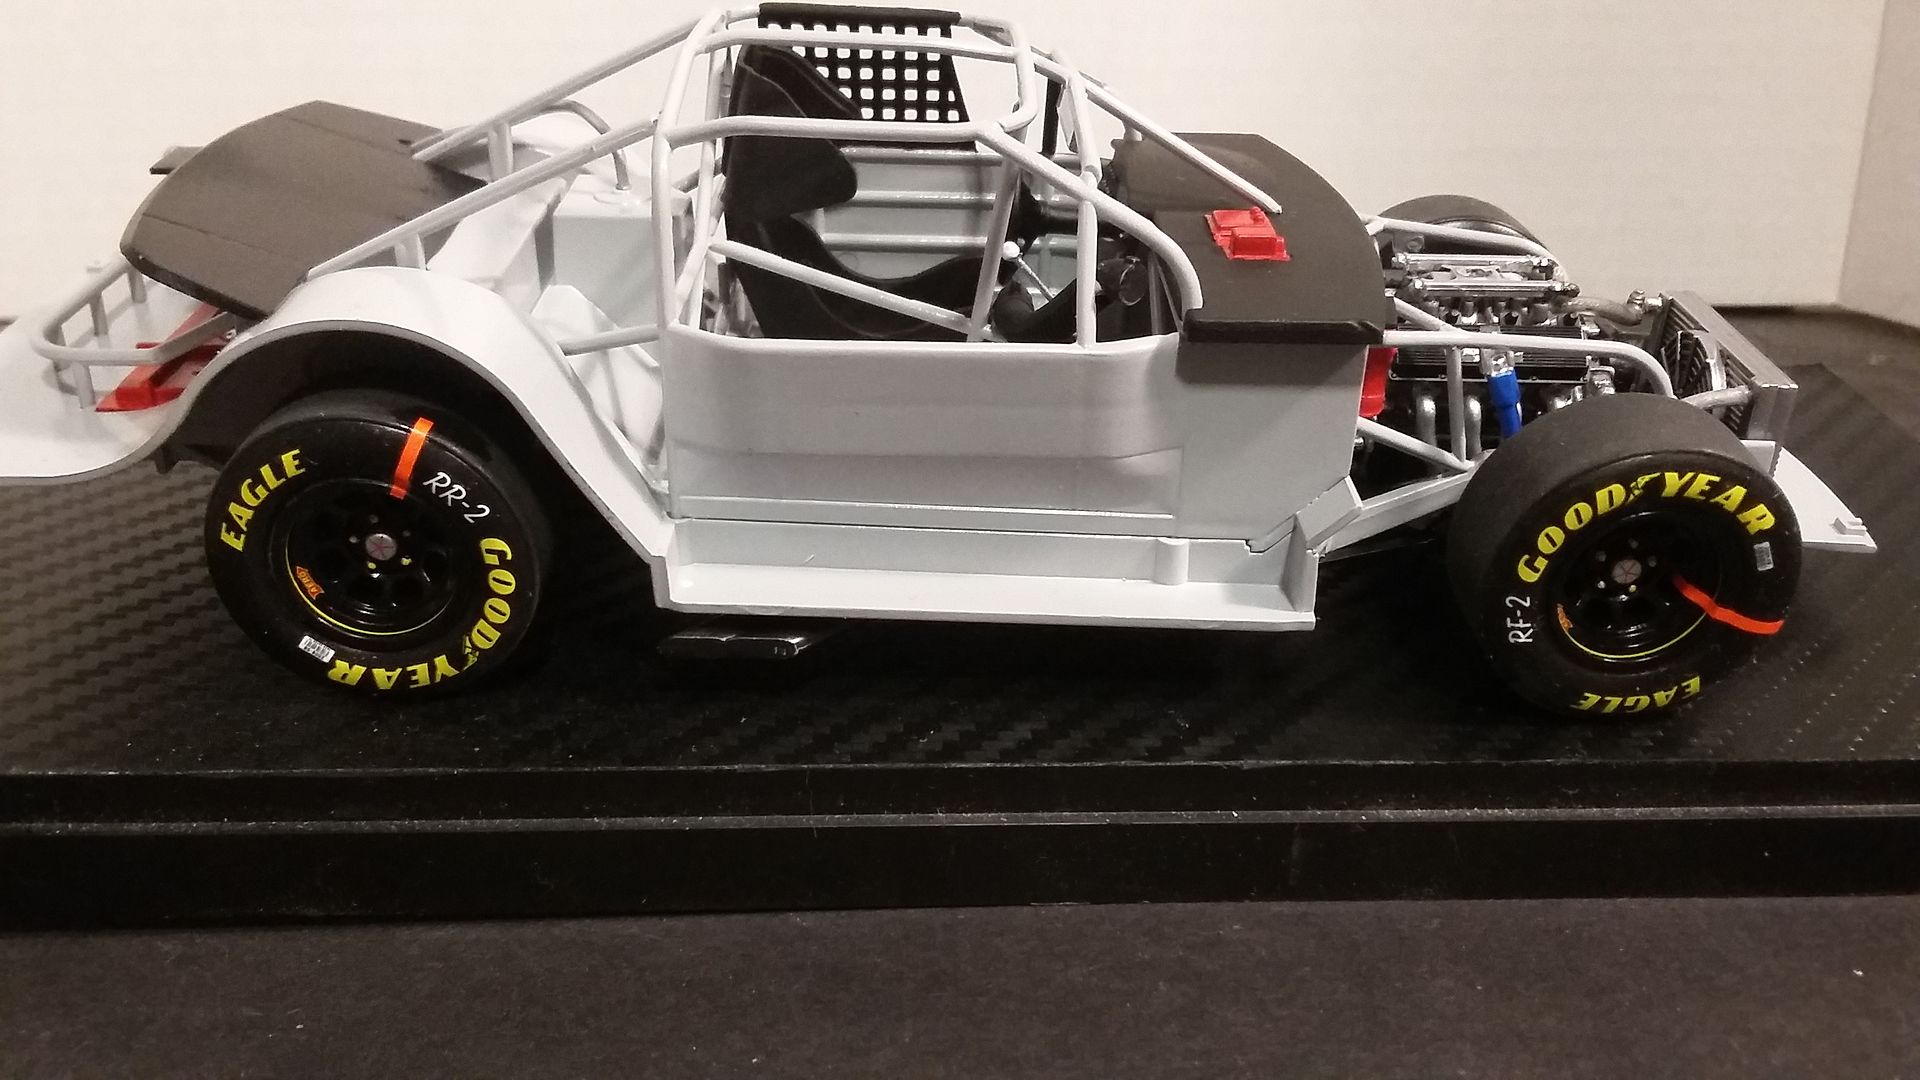
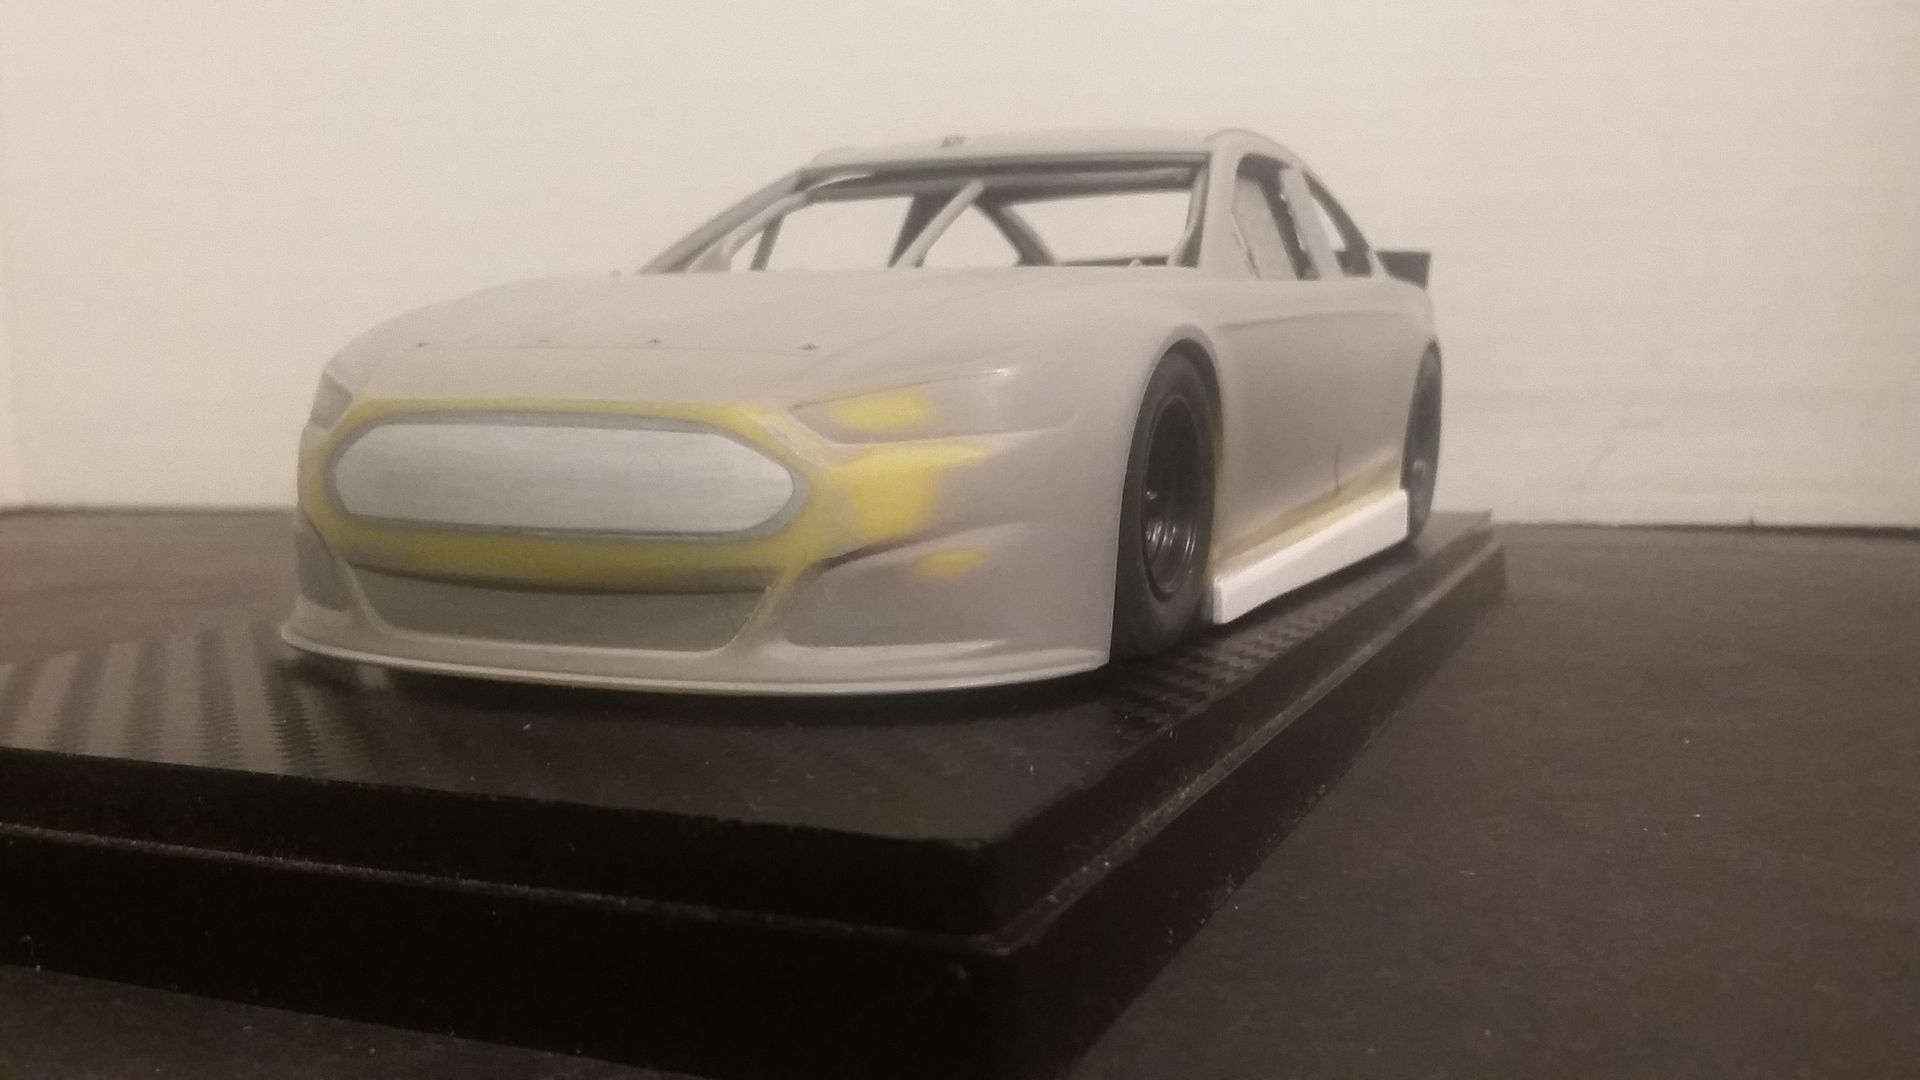
While I was waiting for these to arrive from Australia, I got to work on the body mods. I filled in the front grill and added some side skirts. I also started working on chassis mods at the same time to try and get the stance I was looking for. So a couple shots of that process.
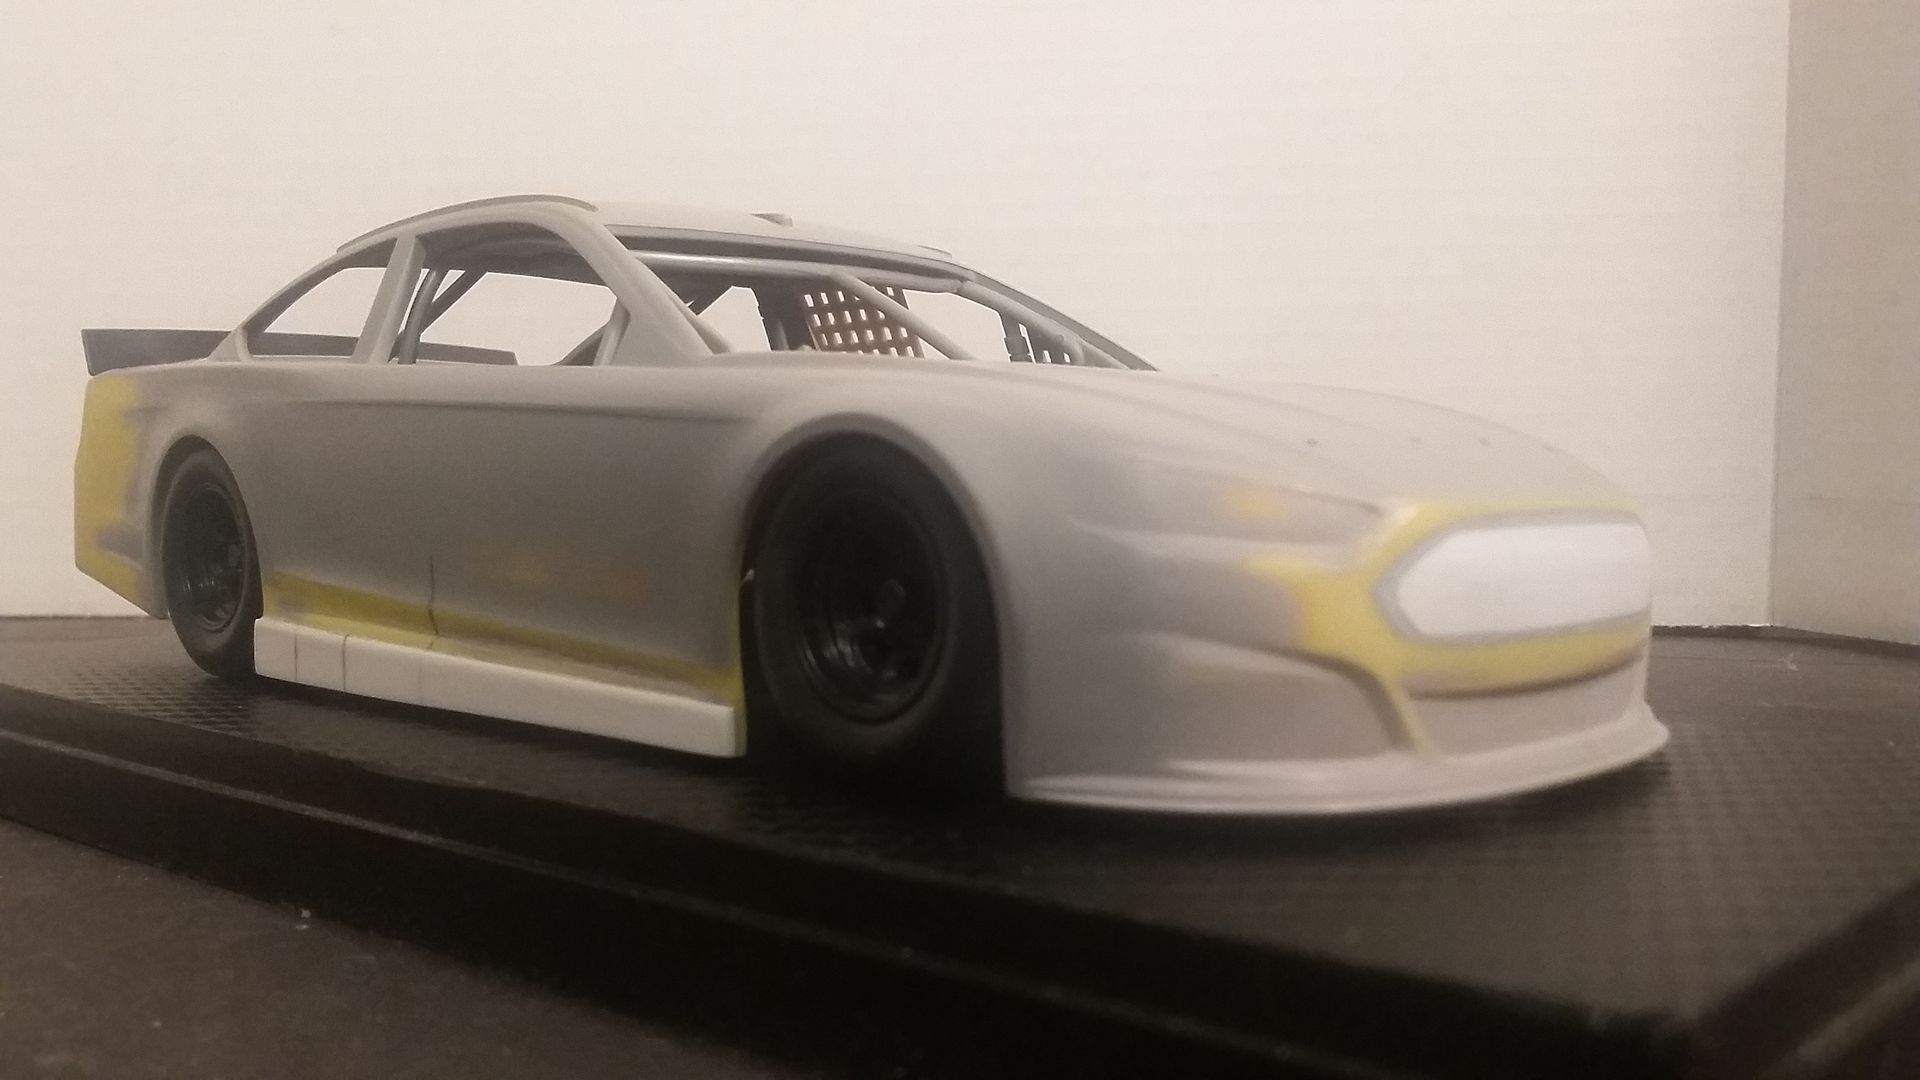
I spent a bit more time tweaking ride height and axle width but progress had stalled. Life got busy and this project got pushed aside for a few others. That was until the release of the new Fusion glue kits. After seeing some test shots I was excited to see how they would be so I decided I was just leave my snapper where it was and then use the decals from above on one of these new kits.
So after getting my first one, I prepped and paint the body straight away and started the decals to see how they'd look on the new Fusion kit. For those that have never used Patto's decals, they are not for glue kits, they are for slot car bodies so things dont always line up 100%. But other than the roof decal, pretty much everything else fit really well. Some initial decal work.
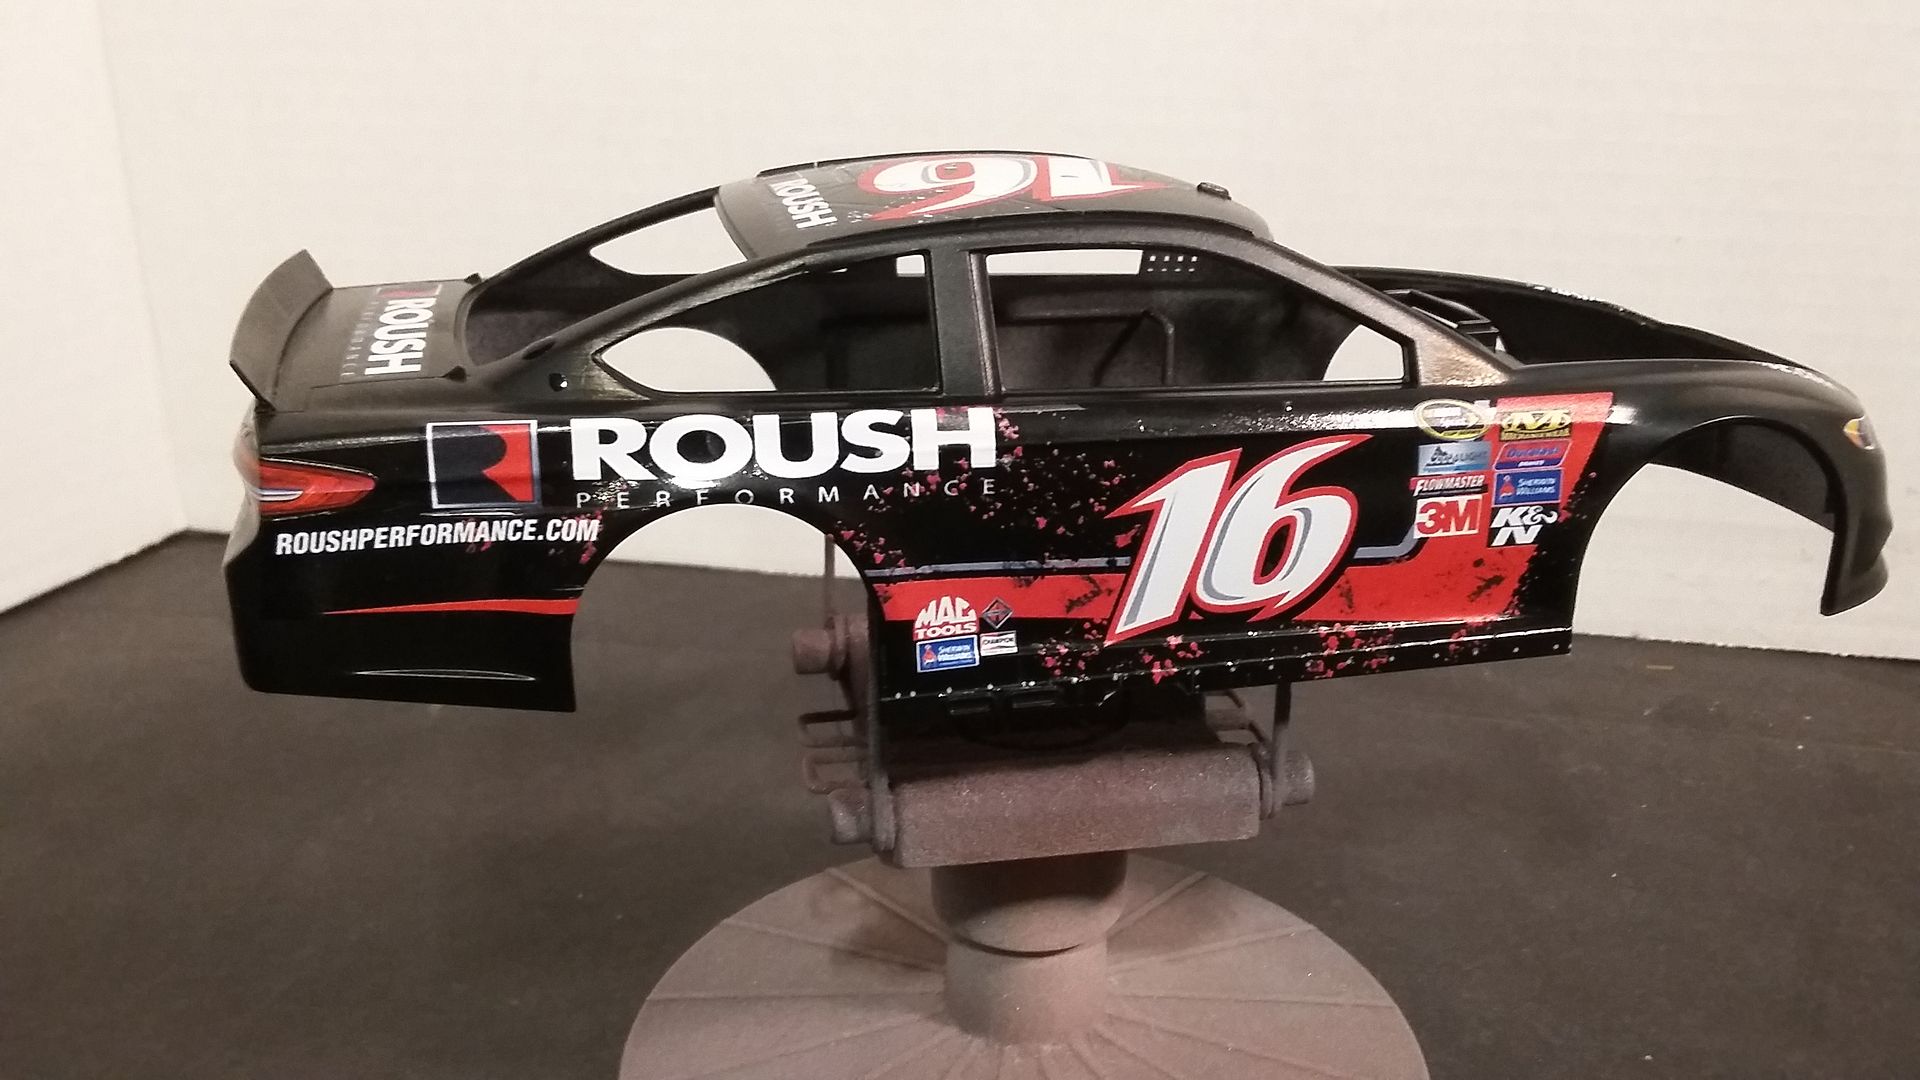
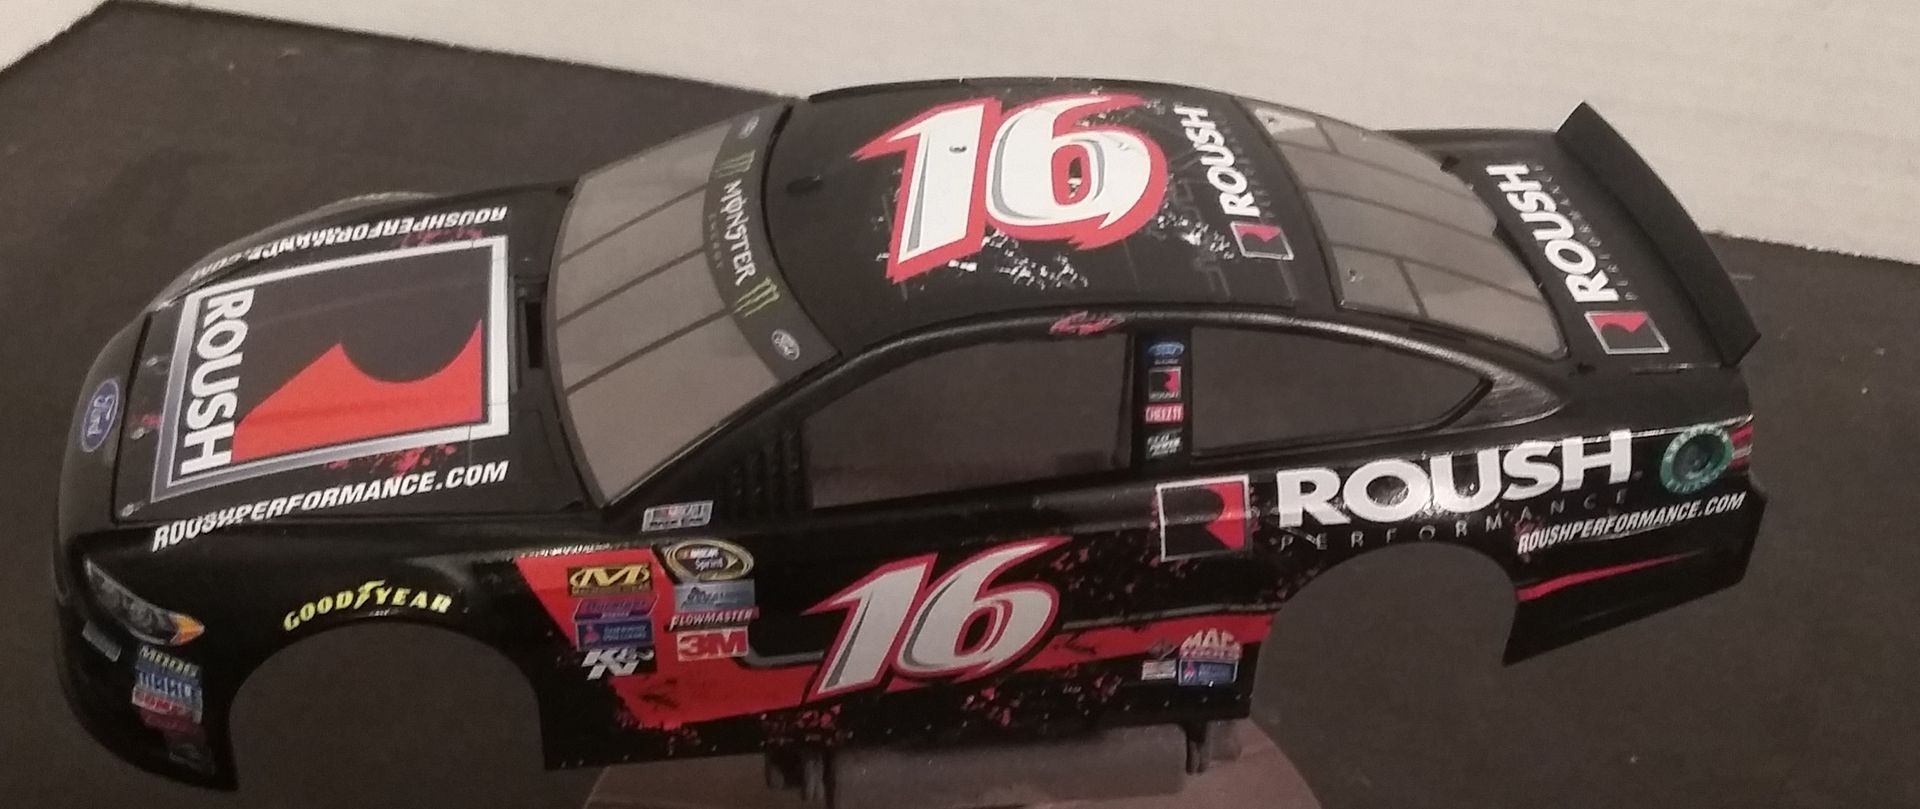
With the body mainly finished decal wise, I did have a few more small decals to place here and there yet, I moved onto motor. The following are shots of the motor ready to install. I didnt wire this one up, tho, now I wish I had. Next time.
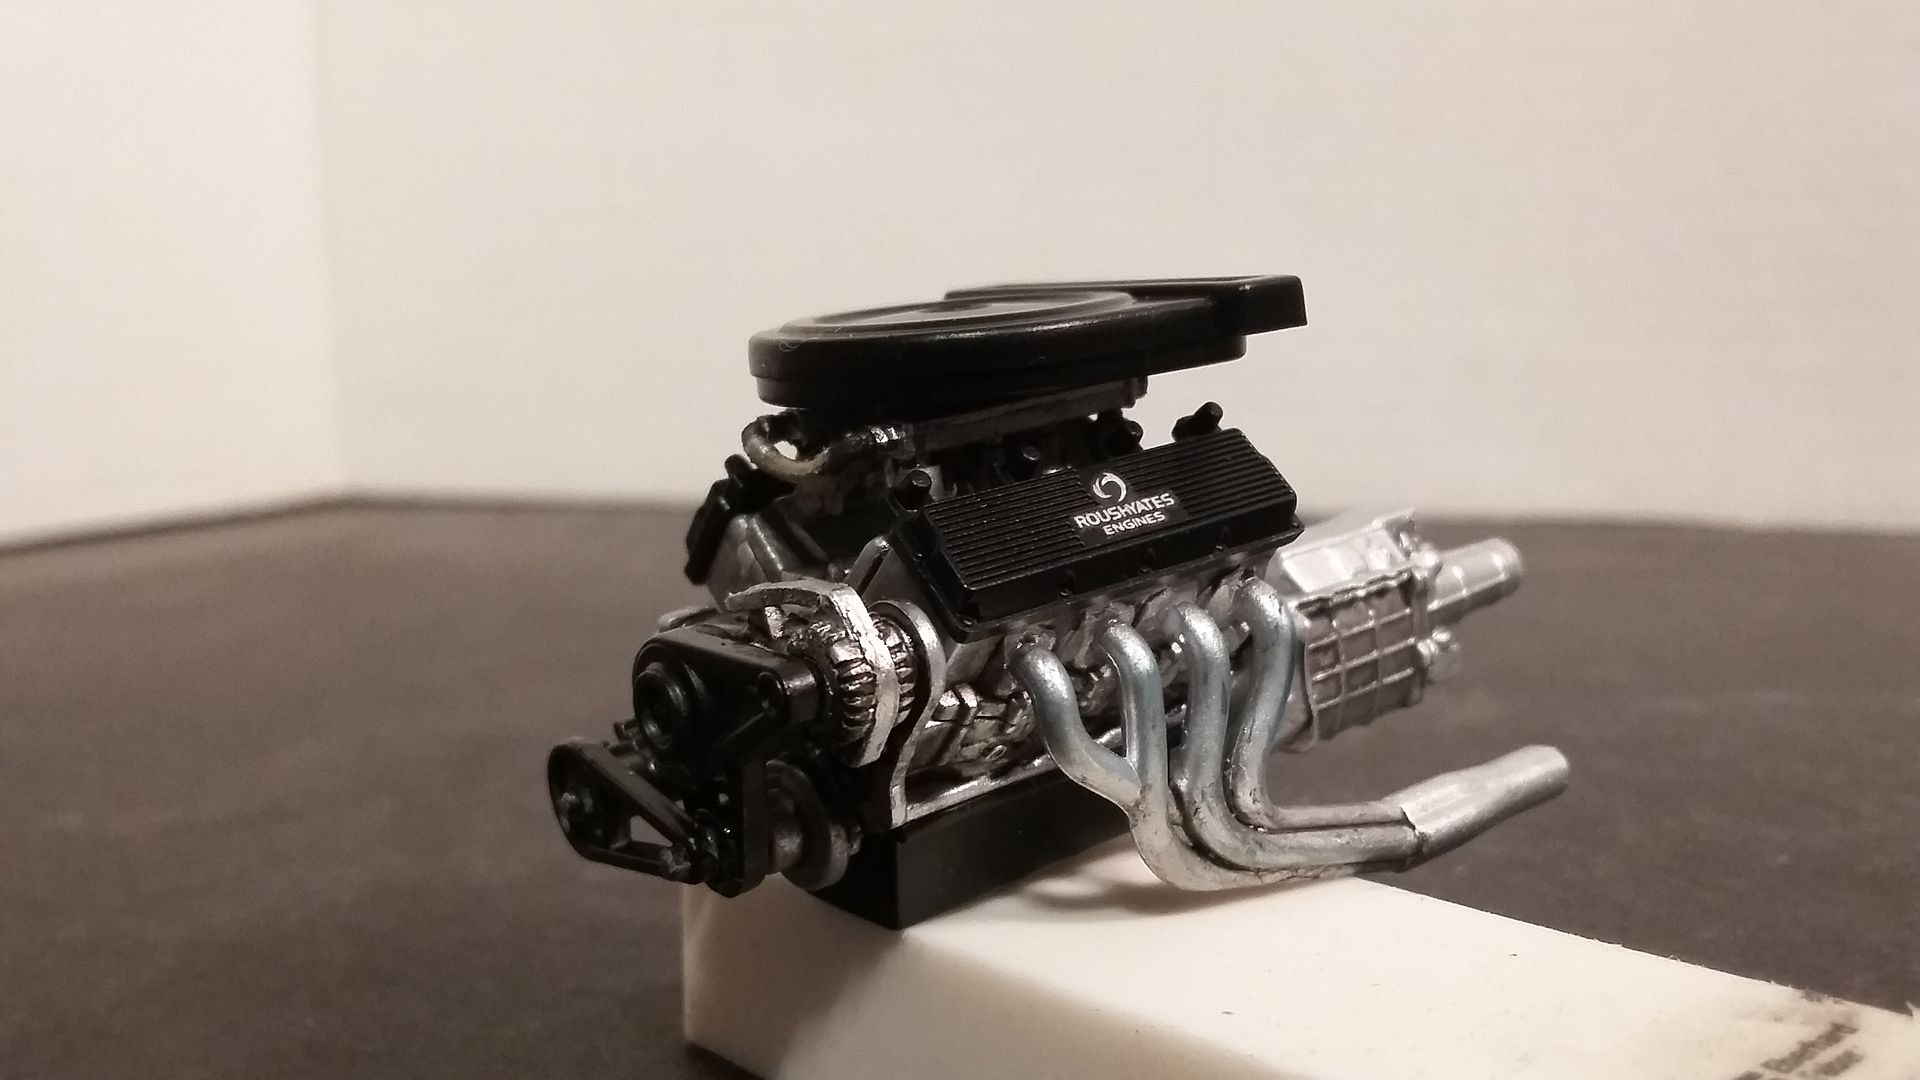
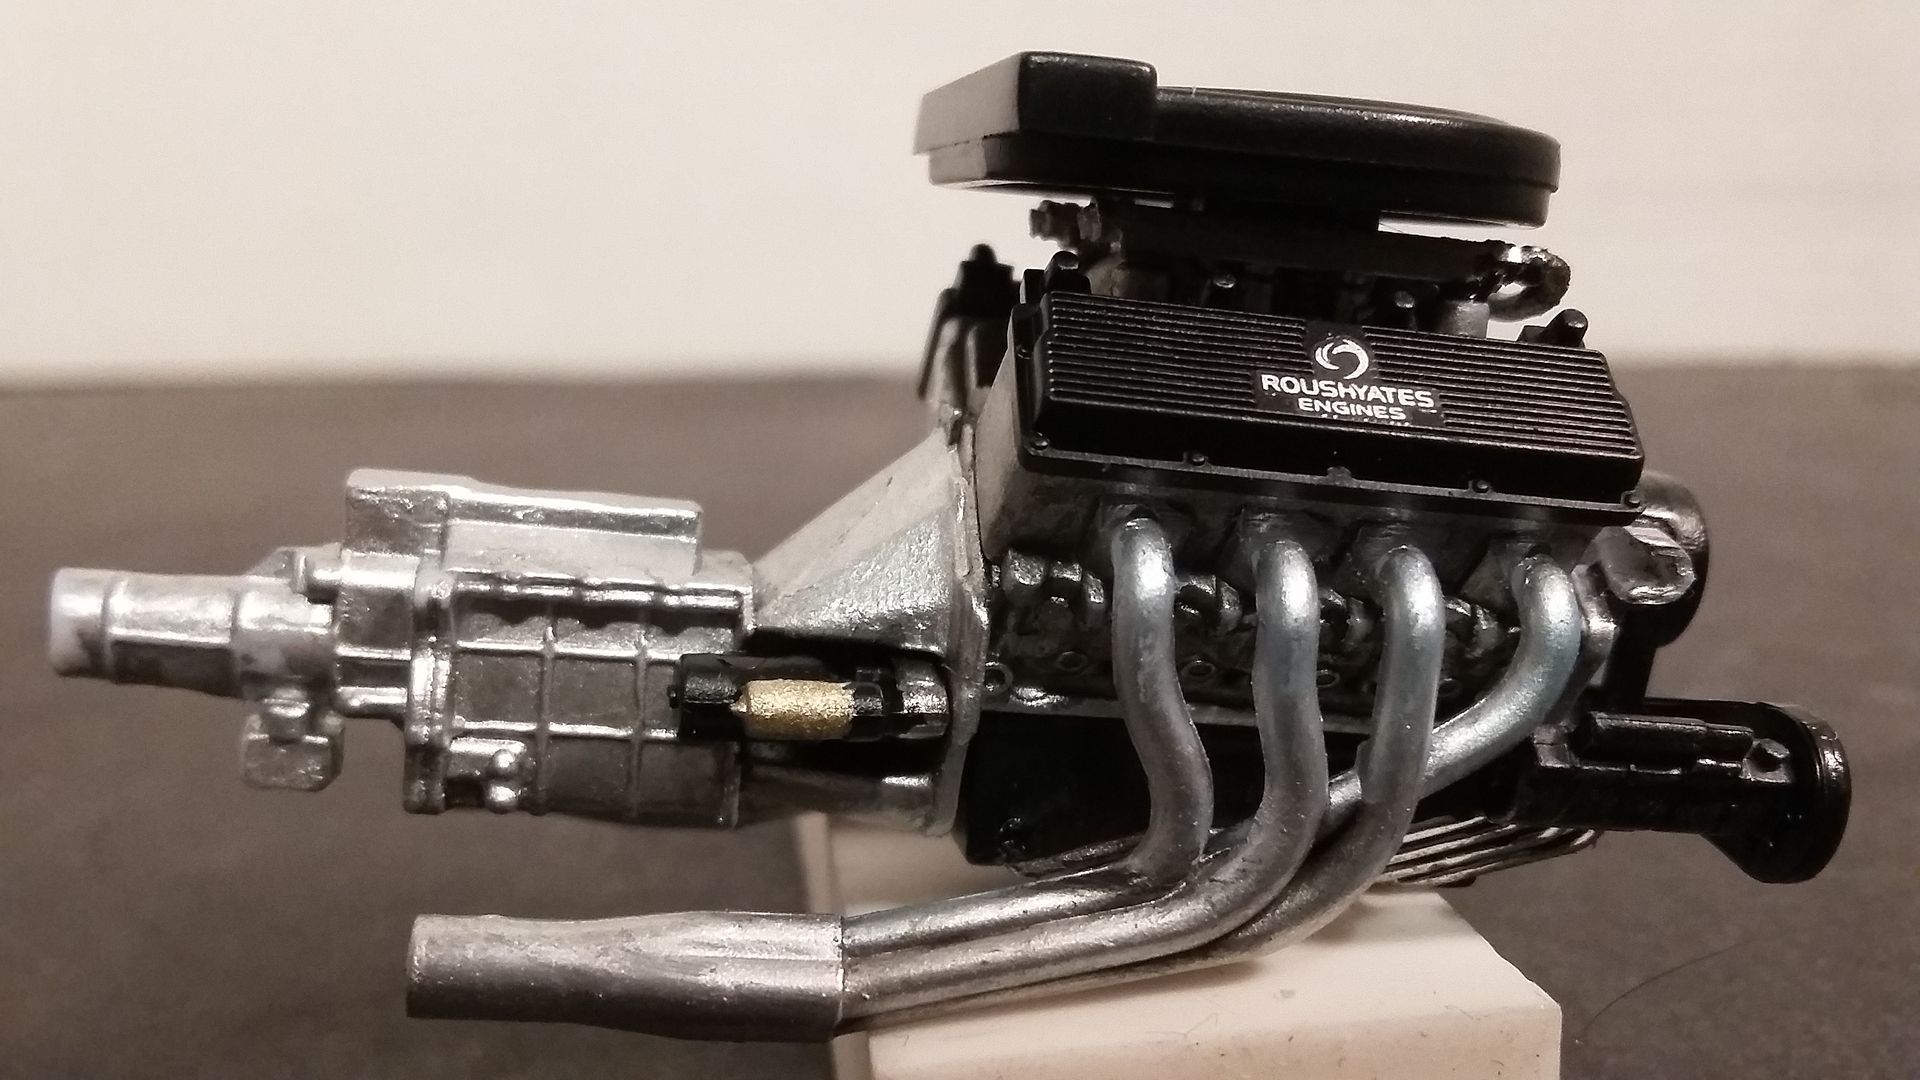
With the engine ready, I moved on to the chassis...which for some reason I cant explain I havent taken pics of yet...
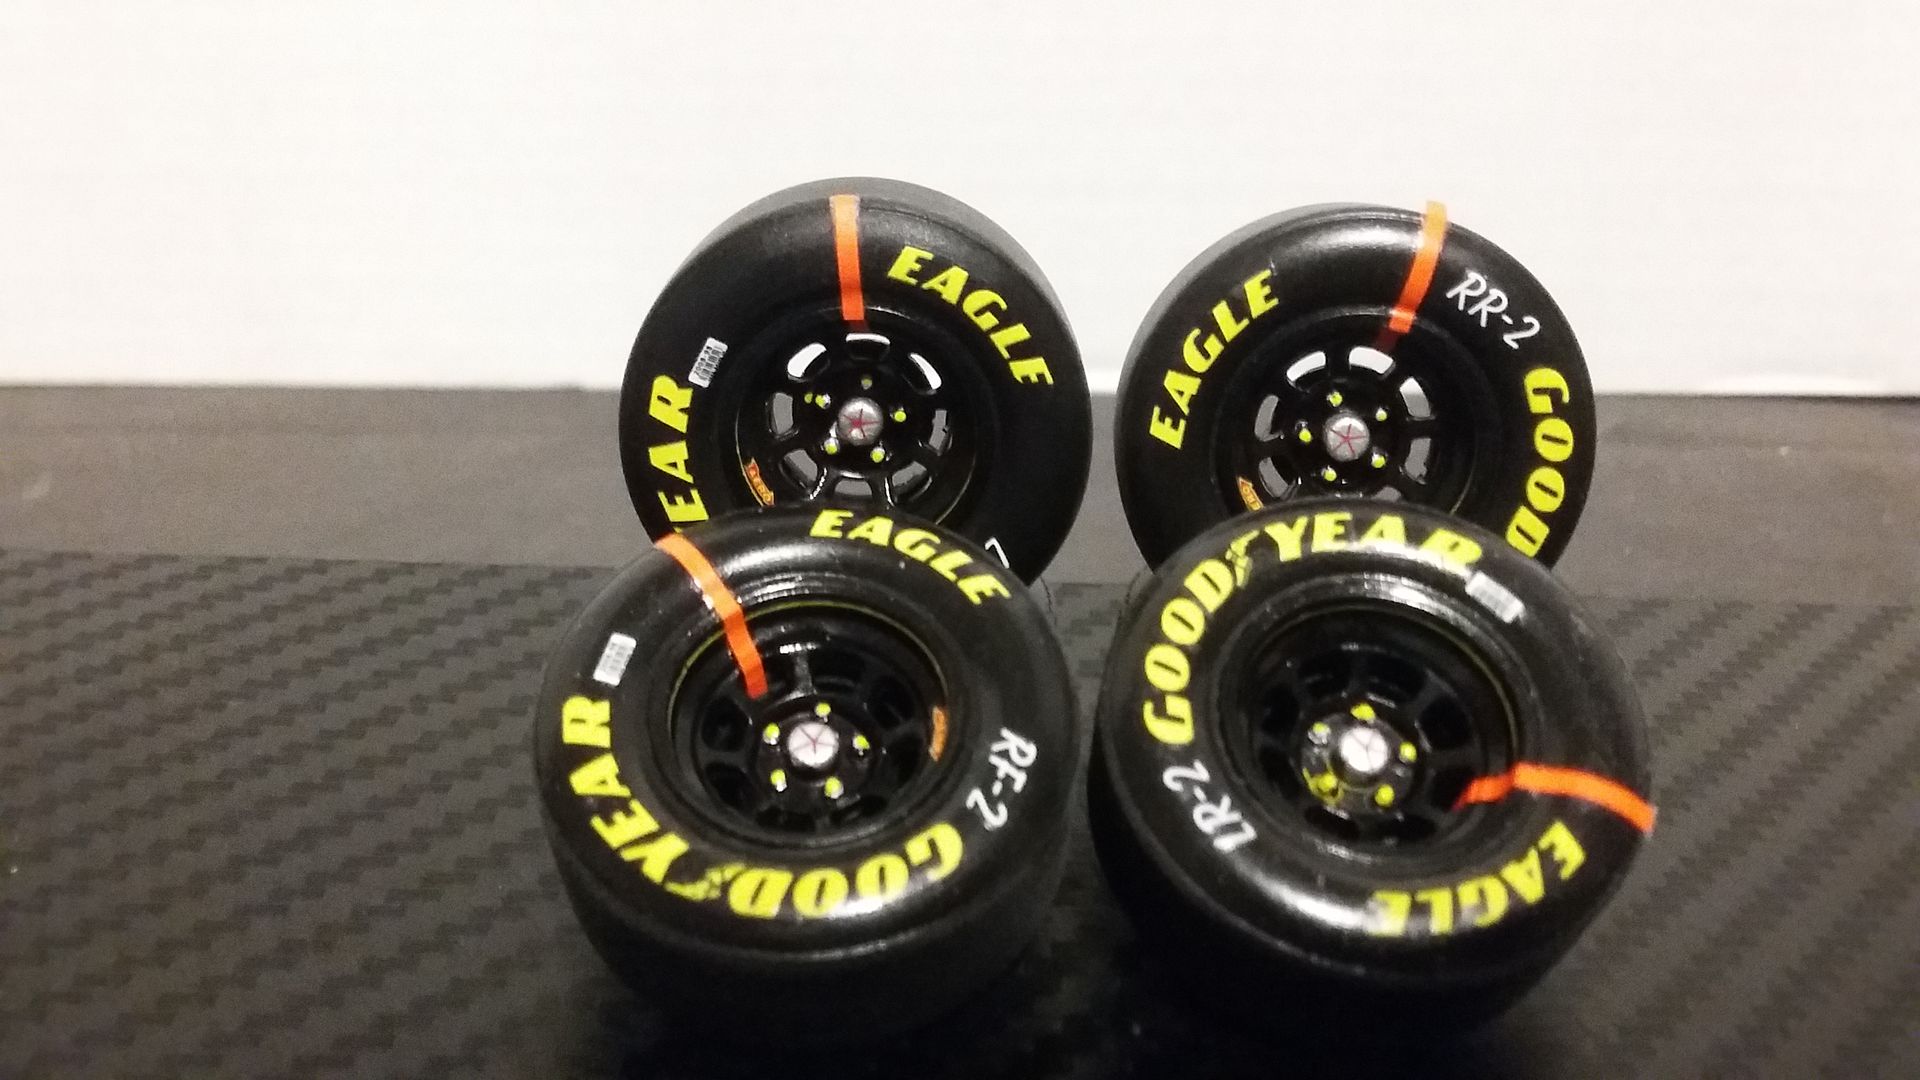
So instead, the wheels. One of my main issues with the new glue kits are the wheel backs. They're solid even though they went to the trouble of adding in decently detailed brake discs, you cant seen them through the wheels. So, I decided to mod mine. Here's a shot of the steps I took to adjust the look of the wheels.
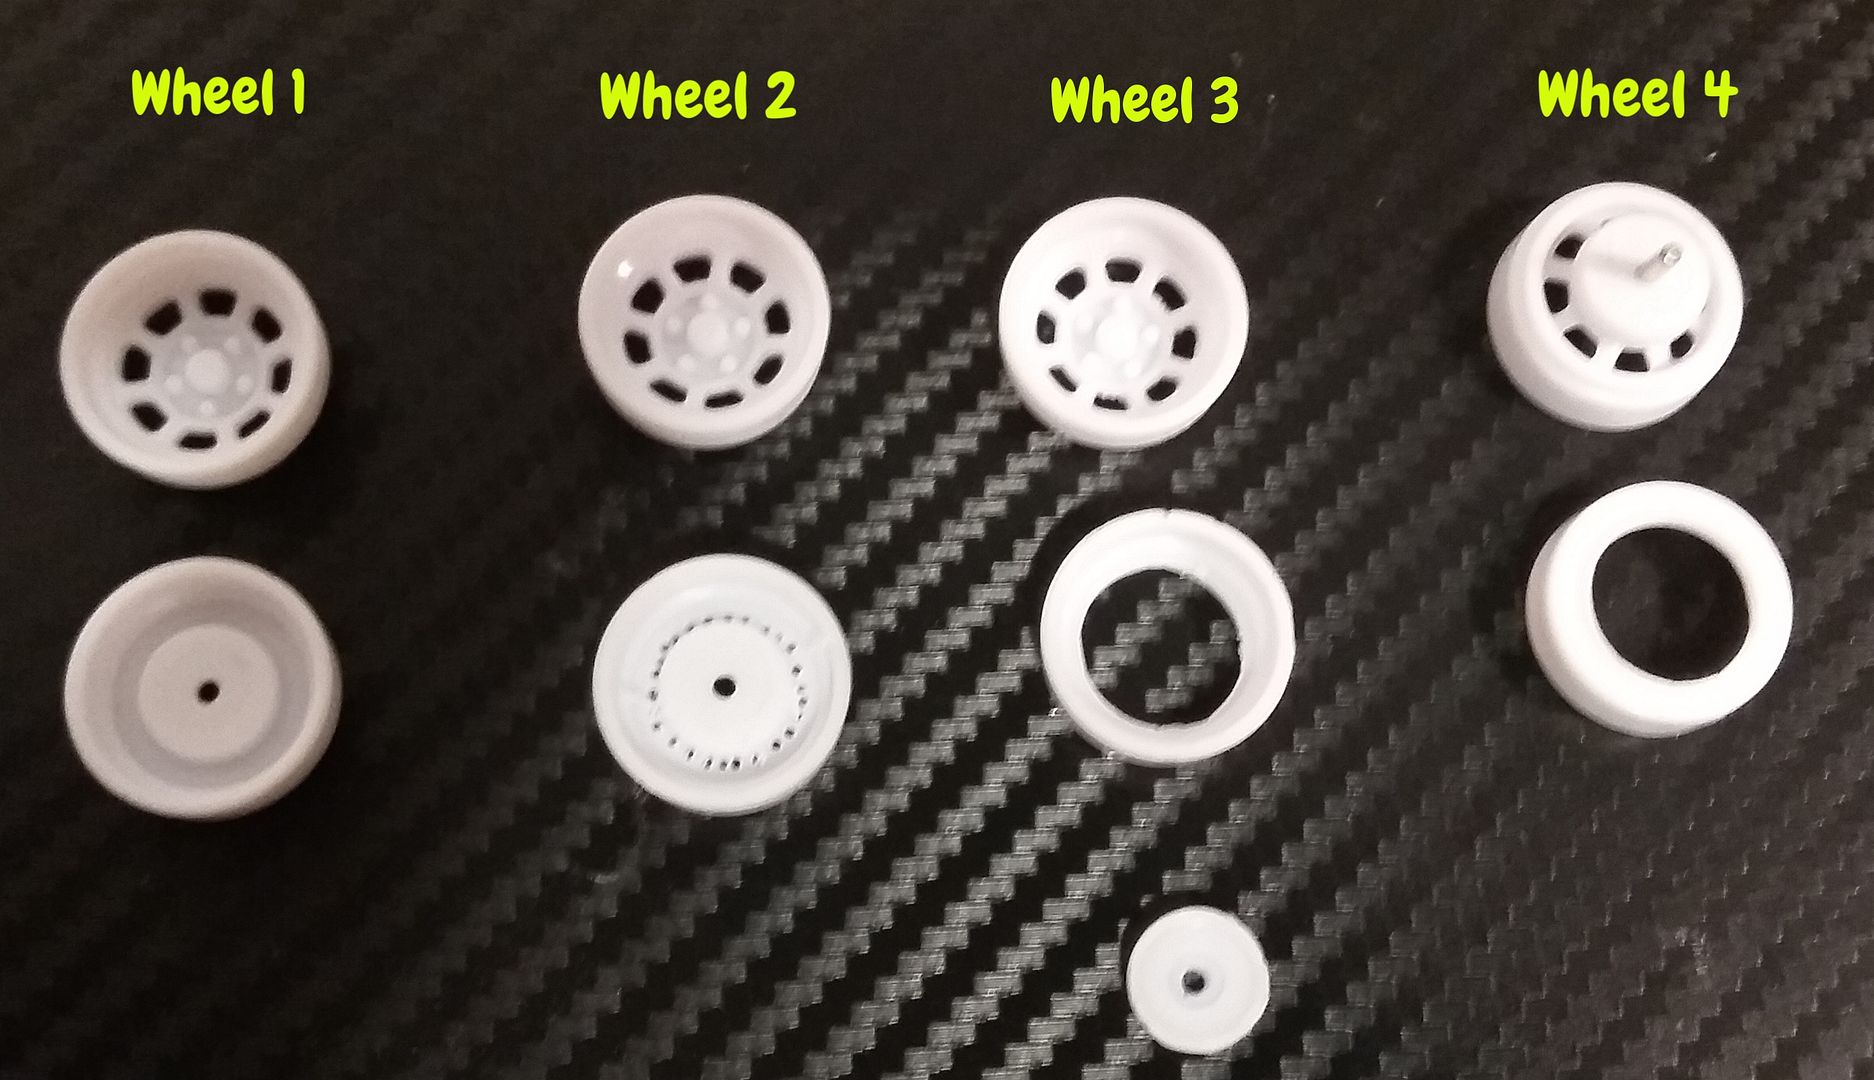
So wheel 1, stock no mods. Wheel 2, I started drilling out around the center hub of the wheel back. Then I used an xacto blade to "connect the dots" removing the hub from the wheel back. Wheel 3, center hub freed up, I then sanded and trimmed it up as well as cleaned up the wheel back which is now a ring. Once installed it will make the rim look like a single unit. Wheel 4, I sanded the center hub down so that inside was flush with where the head of the axle pin rests. This allows the wheel to be pushed back further onto the brake rotors moving the whole wheel assembly further into the wheel well. I also sanded down the outer center of the rotors to gain more space there too. After this. the wheels were taken off the the paint booth and primed and painted. I spent the night last night detailing the wheels and tires and should have an update on those shortly as I have a bit more work left to do on them.
Thanks for looking. All comments and criticisms welcome and appreciated.
David
So to start....
Last Christmas I got one of the "new" Revell Snapper kits as a present. I didn't do anything with it till around March when I decided to give it a shot after seeing what some other guys where doing with theirs. Even though I'm not a NASCAR guy, I do like race cars, and I really enjoy making mods to a model to make it look more accurate to the real deal. So, starting with this:

But I didn't like the livery. Too mundane for my tastes. After Googling some images of cars from last year I decided on this livery. Again, not cause I'm a fan, just cause I like the looks of the colours and graphics.

Now that I found a livery I liked. I had to find the decals for it. I was fortunate enough to find out that Bruce from Patto's Place did in fact have them, so I placed my order. Knowing I was going to pain the car black I got him to do a background delete on his art work and was left with these.

While I was waiting for these to arrive from Australia, I got to work on the body mods. I filled in the front grill and added some side skirts. I also started working on chassis mods at the same time to try and get the stance I was looking for. So a couple shots of that process.


I spent a bit more time tweaking ride height and axle width but progress had stalled. Life got busy and this project got pushed aside for a few others. That was until the release of the new Fusion glue kits. After seeing some test shots I was excited to see how they would be so I decided I was just leave my snapper where it was and then use the decals from above on one of these new kits.
So after getting my first one, I prepped and paint the body straight away and started the decals to see how they'd look on the new Fusion kit. For those that have never used Patto's decals, they are not for glue kits, they are for slot car bodies so things dont always line up 100%. But other than the roof decal, pretty much everything else fit really well. Some initial decal work.


With the body mainly finished decal wise, I did have a few more small decals to place here and there yet, I moved onto motor. The following are shots of the motor ready to install. I didnt wire this one up, tho, now I wish I had. Next time.


With the engine ready, I moved on to the chassis...which for some reason I cant explain I havent taken pics of yet...
So instead, the wheels. One of my main issues with the new glue kits are the wheel backs. They're solid even though they went to the trouble of adding in decently detailed brake discs, you cant seen them through the wheels. So, I decided to mod mine. Here's a shot of the steps I took to adjust the look of the wheels.

So wheel 1, stock no mods. Wheel 2, I started drilling out around the center hub of the wheel back. Then I used an xacto blade to "connect the dots" removing the hub from the wheel back. Wheel 3, center hub freed up, I then sanded and trimmed it up as well as cleaned up the wheel back which is now a ring. Once installed it will make the rim look like a single unit. Wheel 4, I sanded the center hub down so that inside was flush with where the head of the axle pin rests. This allows the wheel to be pushed back further onto the brake rotors moving the whole wheel assembly further into the wheel well. I also sanded down the outer center of the rotors to gain more space there too. After this. the wheels were taken off the the paint booth and primed and painted. I spent the night last night detailing the wheels and tires and should have an update on those shortly as I have a bit more work left to do on them.
Thanks for looking. All comments and criticisms welcome and appreciated.
David


