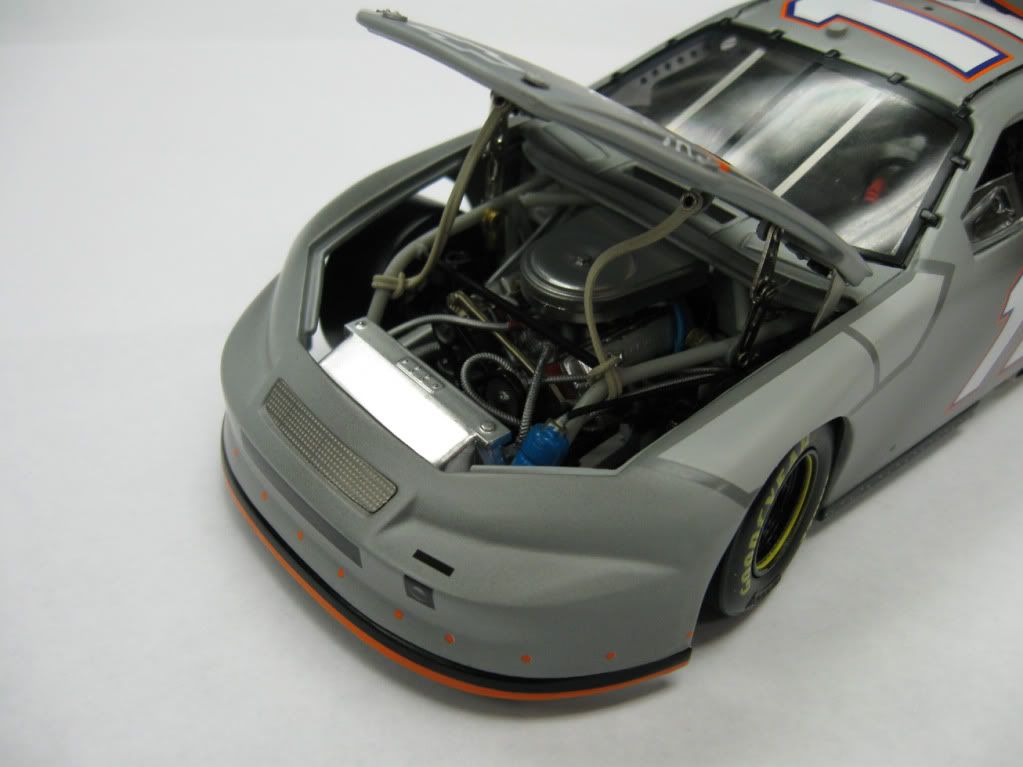
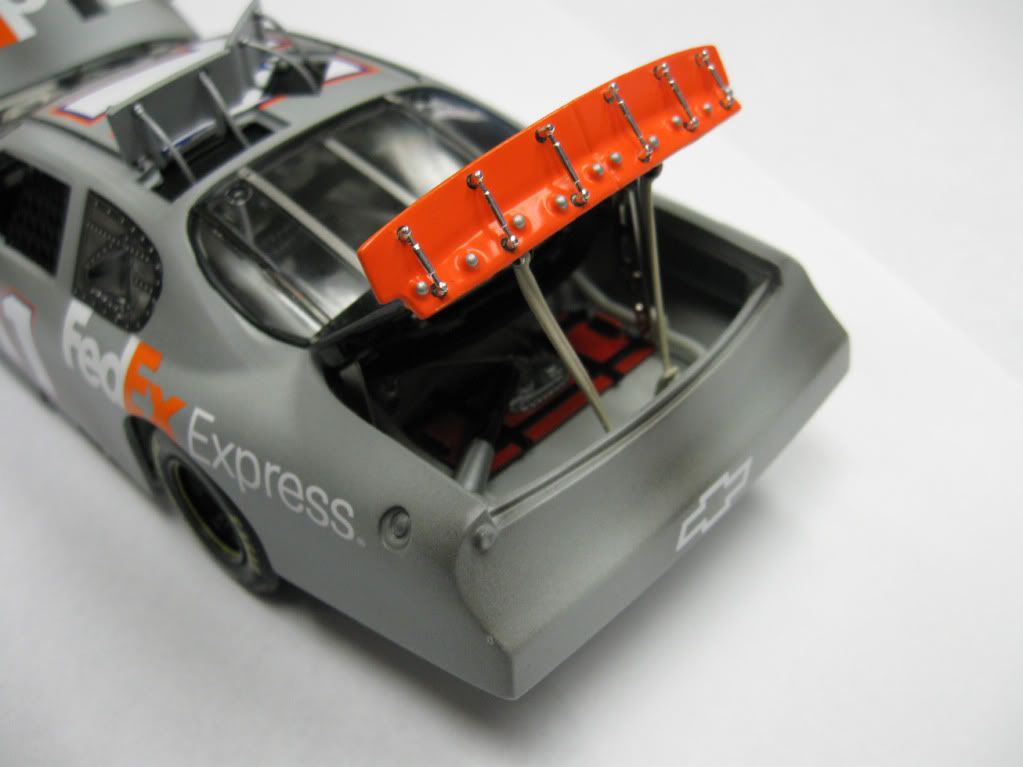
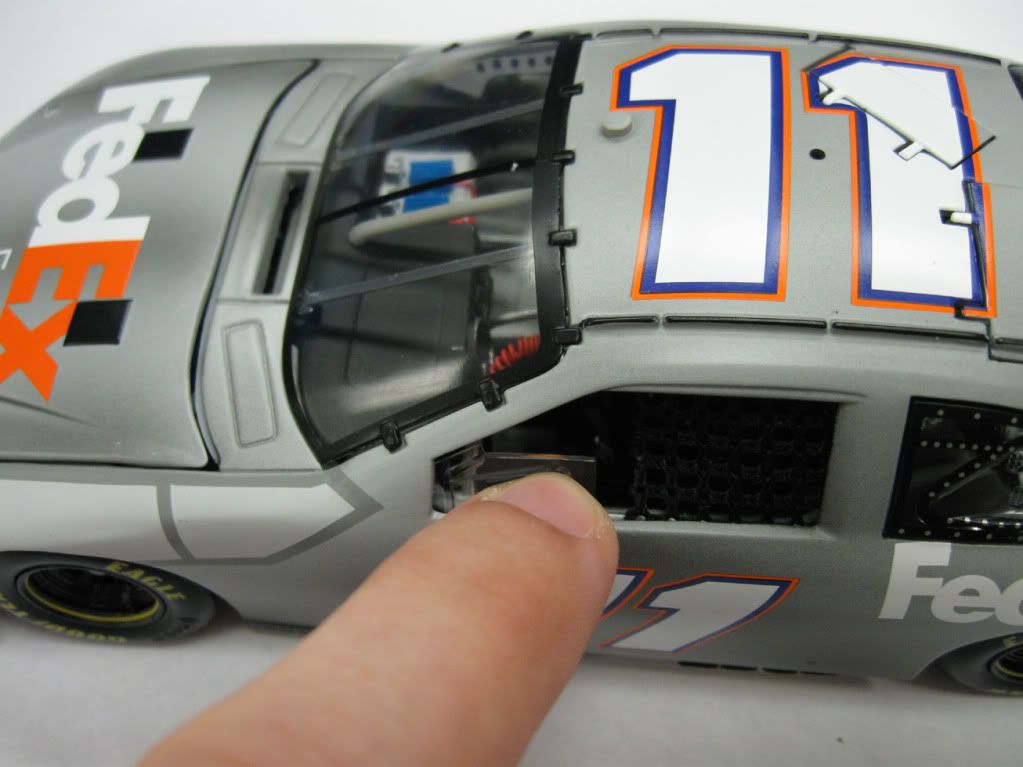
OK Let's move on to day 2. This next process is probably gonna be the hardest aspect of taking apart an Elite car. You will need a Dremel or similar with a cutter bit like I have shown. THe first area to tackle is the hood and then the trunk. First you need to grind down the rivet for the tether brackets, Then the same for the hood hinge brackets. Next do the same for the trunklid. All you have to do it take the rivet down flush with the bracket. This will leave you a small nub to locate on for reassembly. Be careful with your Dremel and don't let it walk on you. Once completed you can see what it should looke like.
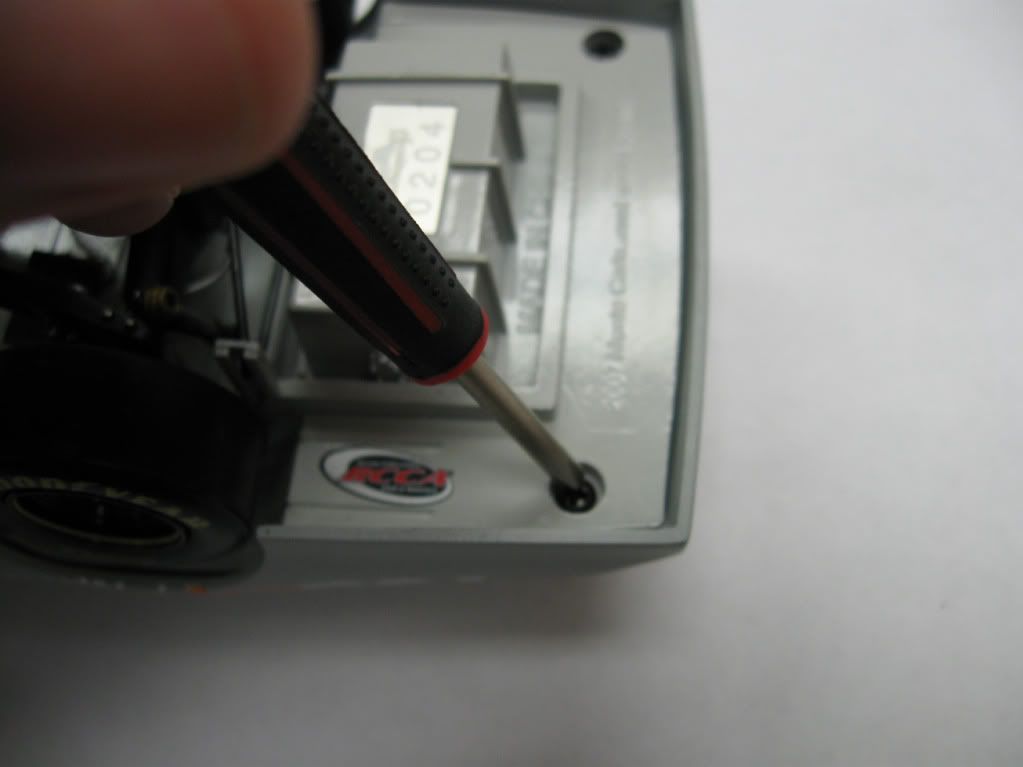
Now we will move on the removing the hood. Turn the car over and insert your small phillips screwdriver, into the engine bay to access the hinge screws. Remove these and the hood will come right off. I like to take the screws and reinsert them into the hood so I do not lose them.
Next we move on to the steering wheel. Using a nice long pair of tweezers, grab the steering wheel shaft and lift it up and out of the "J" hook on the dash. (Once I got the body off, I discovered this is not necessary. The dash stays with the chassis unlike the regular Action cars so this step is not necessary.)
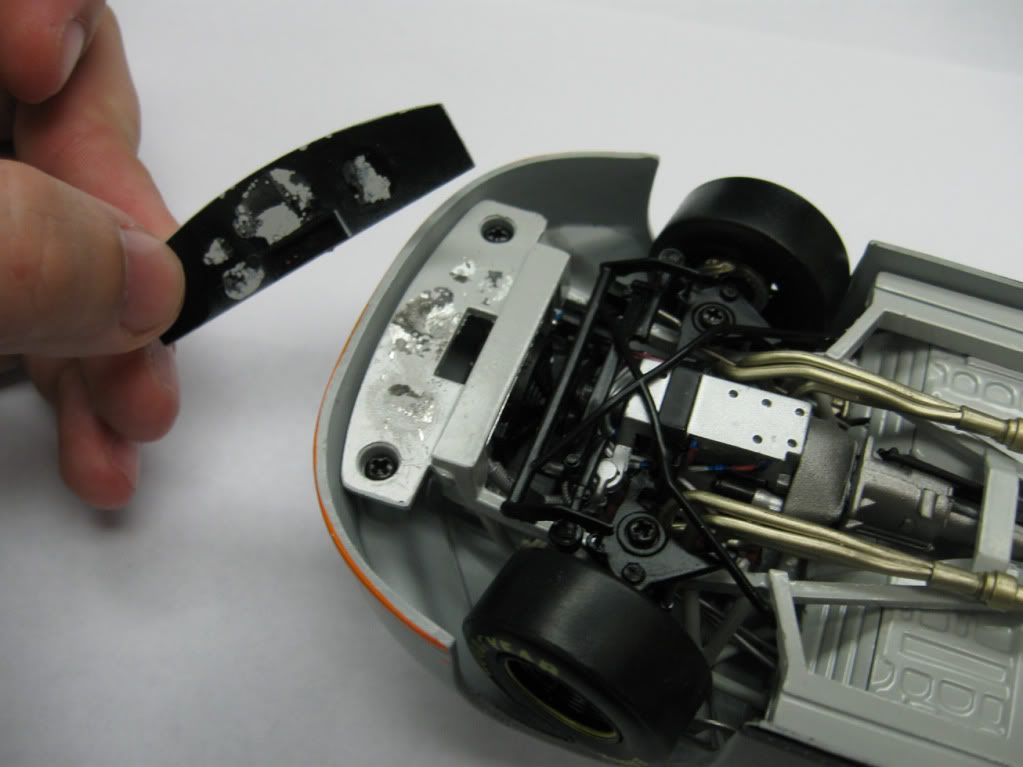
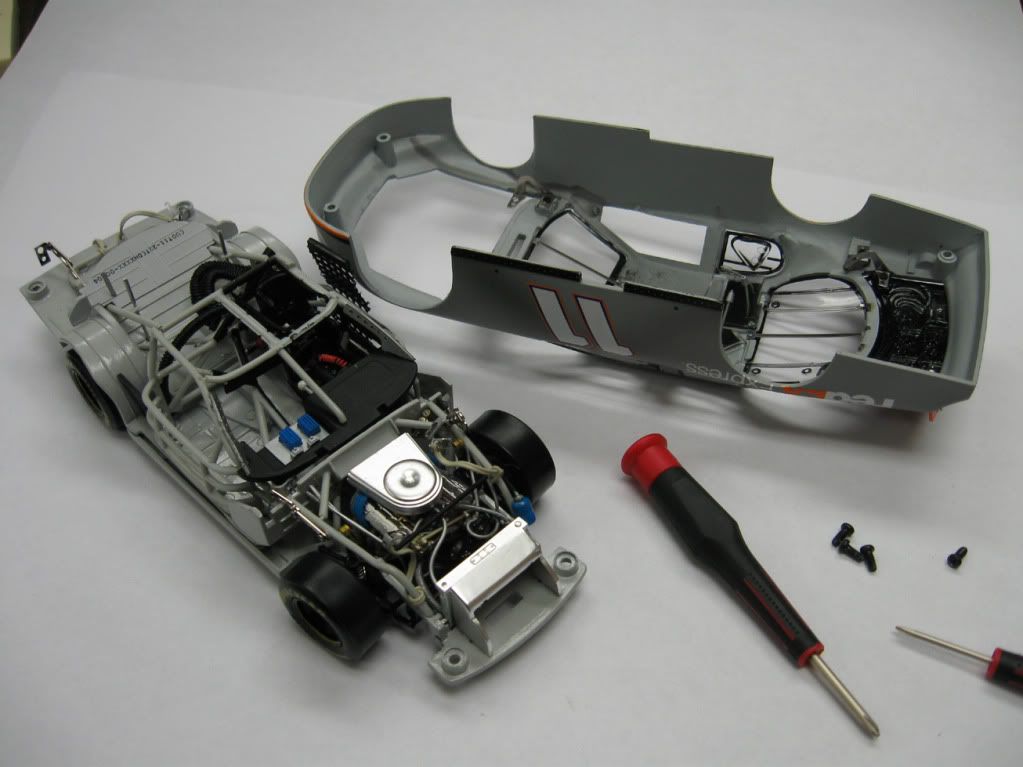
Now let's move on to the big part, the chassis. Remove the 4 main chassis screws. Once removed, the chassis and body should separate with no trouble whatsoever.
With the chassis removed, we can see what we are left to deal with, some more screws and some more rivets.
Look at the chassis detail for these Elite cars. Amazing.
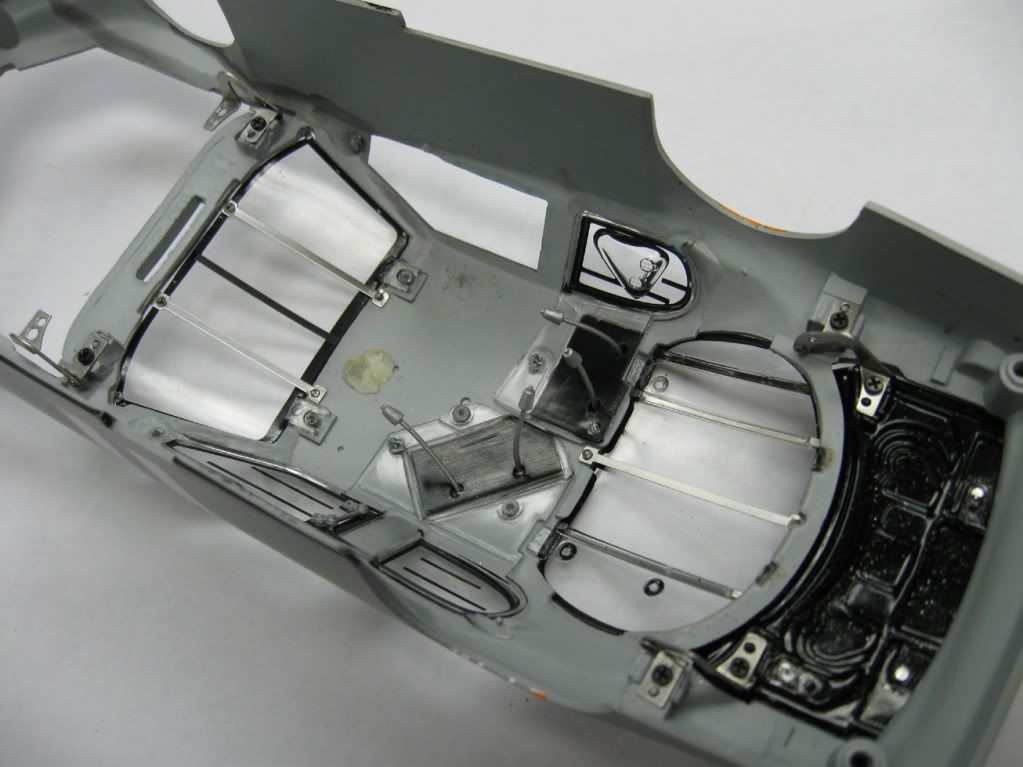
Let's remove the hood hinges from the body now. Insert the screws back into the body so they are not lost down the road.
Next we move to the trunklid. Remove the screws for the lid and hinges, and then reinstall them into their corresponding part. You now have a separated trunklid.
Now let's take off the roof cam. Remove all of the surrounding glue and then pop the camera out of the roof.
The windshield is next on the agenda. First you need to put some light pressure on the cowl area and push out to "unlock" the locating tabs. Next you can use a small flathead screwdriver to pop the metal straps off their locators (This may require the Dremel if the locator head is too big for the strap to pass over.). Now pull the windshield forward and you will have successfully removed it.
On to the back window. The two plastic tabs have some glue that needs to be broken loose. I found the razor blade worked best here. Next remove the metal strap from its locator (I had to use the Dremel on this one.). Pull the glass out the back and you are done with the window.
Now we have to remove the side glass and roof flap retainers. This requires the Dremel again to grind down the rivet heads. Once removed you can apply light pressure and possibly some prying from the flathead screwdriver to the windows and they should pop free. Turn the roof flap sideways to slide it through the body and you have everything removed from the main body.
The roof flaps must now be separated from the windows. Take your razor blade and very carefully work underneath the tethers to break the glue to the roof flap. Do this 4 times and you have them removed.
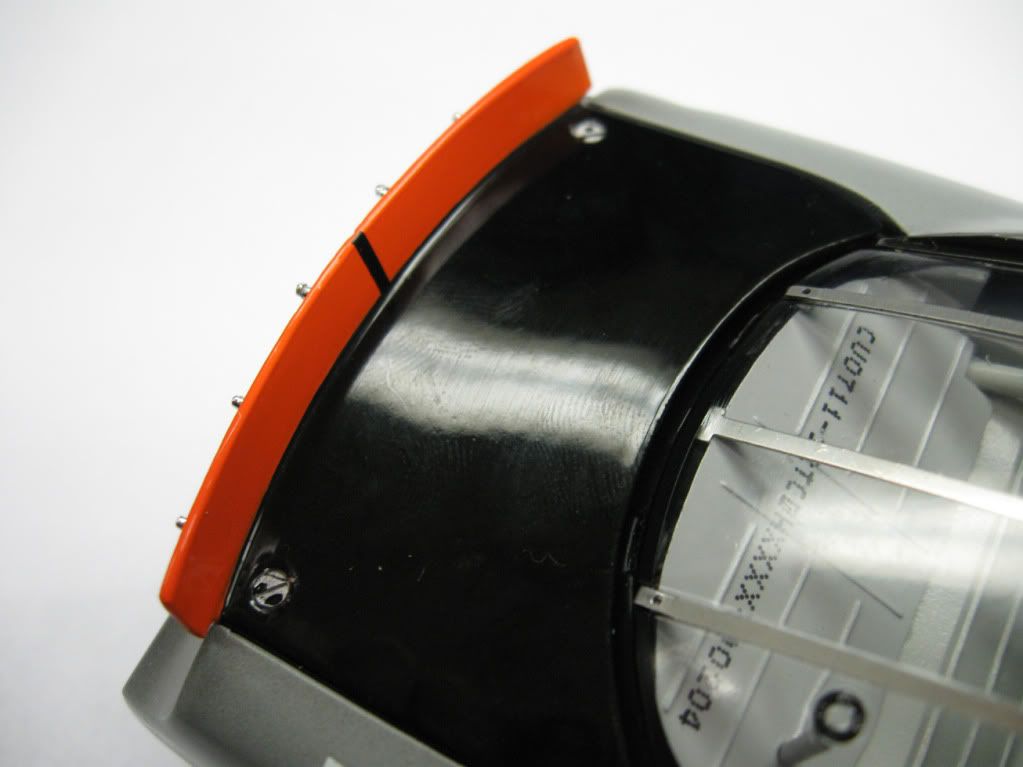
The last step is probably the most delicate, removing the spoiler braces. The best way is to take a pair of tweezers, grab the base of the brace and move from side to side to break the glue bond. You will have to do this to both ends of the brace. Be careful, I broke one spoiler brace.
Now look at this fine picture. A disassembled Action Owner's Elite car. Now all that's let is to give it a bath in your favorite paint stripper, wash, prime, paint, decal, reassemble, and you have yourself a nice diecast custom.
Whew! That was a lot of typing.

